

Define the experience before designing the ticket
Write down who the event is for, what people will do and what they leave with. A hands-on workshop, a supper club and a live performance need different information, even if each uses tickets.
Decide how many people you can host comfortably and safely. Capacity affects the space, materials, staffing and attention you can give each guest. Include preparation and clearing-up time when planning the day.
Start with one clear experience. A specific first event is easier to explain and organise than a large programme with several untested formats.
Work out the costs and practical requirements
List venue, materials, equipment, travel, staffing and promotion costs. Separate fixed costs from costs that increase with each attendee. Consider the work involved even if you sell fewer places than expected.
An illustrative planning calculation: if fixed costs are £120 and each attendee needs £8 of materials, six attendees cost £168 before your time, fees and other expenses. At £35 each, ticket revenue would be £210. The £42 difference is not automatically profit or take-home pay.
Check the permissions, insurance, safety and accessibility arrangements relevant to your event and venue. If you serve food or provide a regulated activity, check the requirements that apply to that work.
Build a page that answers the practical questions
Use a photo that represents the experience and explain what the ticket includes. Stock photography should be treated as illustrative, not evidence of a past event you ran.
- Date, start time, finish time and time zone when relevant.
- Venue or online format, travel details and access information.
- Who it suits and any age or experience requirements.
- Materials, food or equipment included in the price.
- What guests should bring and how to contact the organiser.
- The terms that apply if plans change.
Do not hide essential information inside an image. Write it as readable text so visitors can find it on a phone.
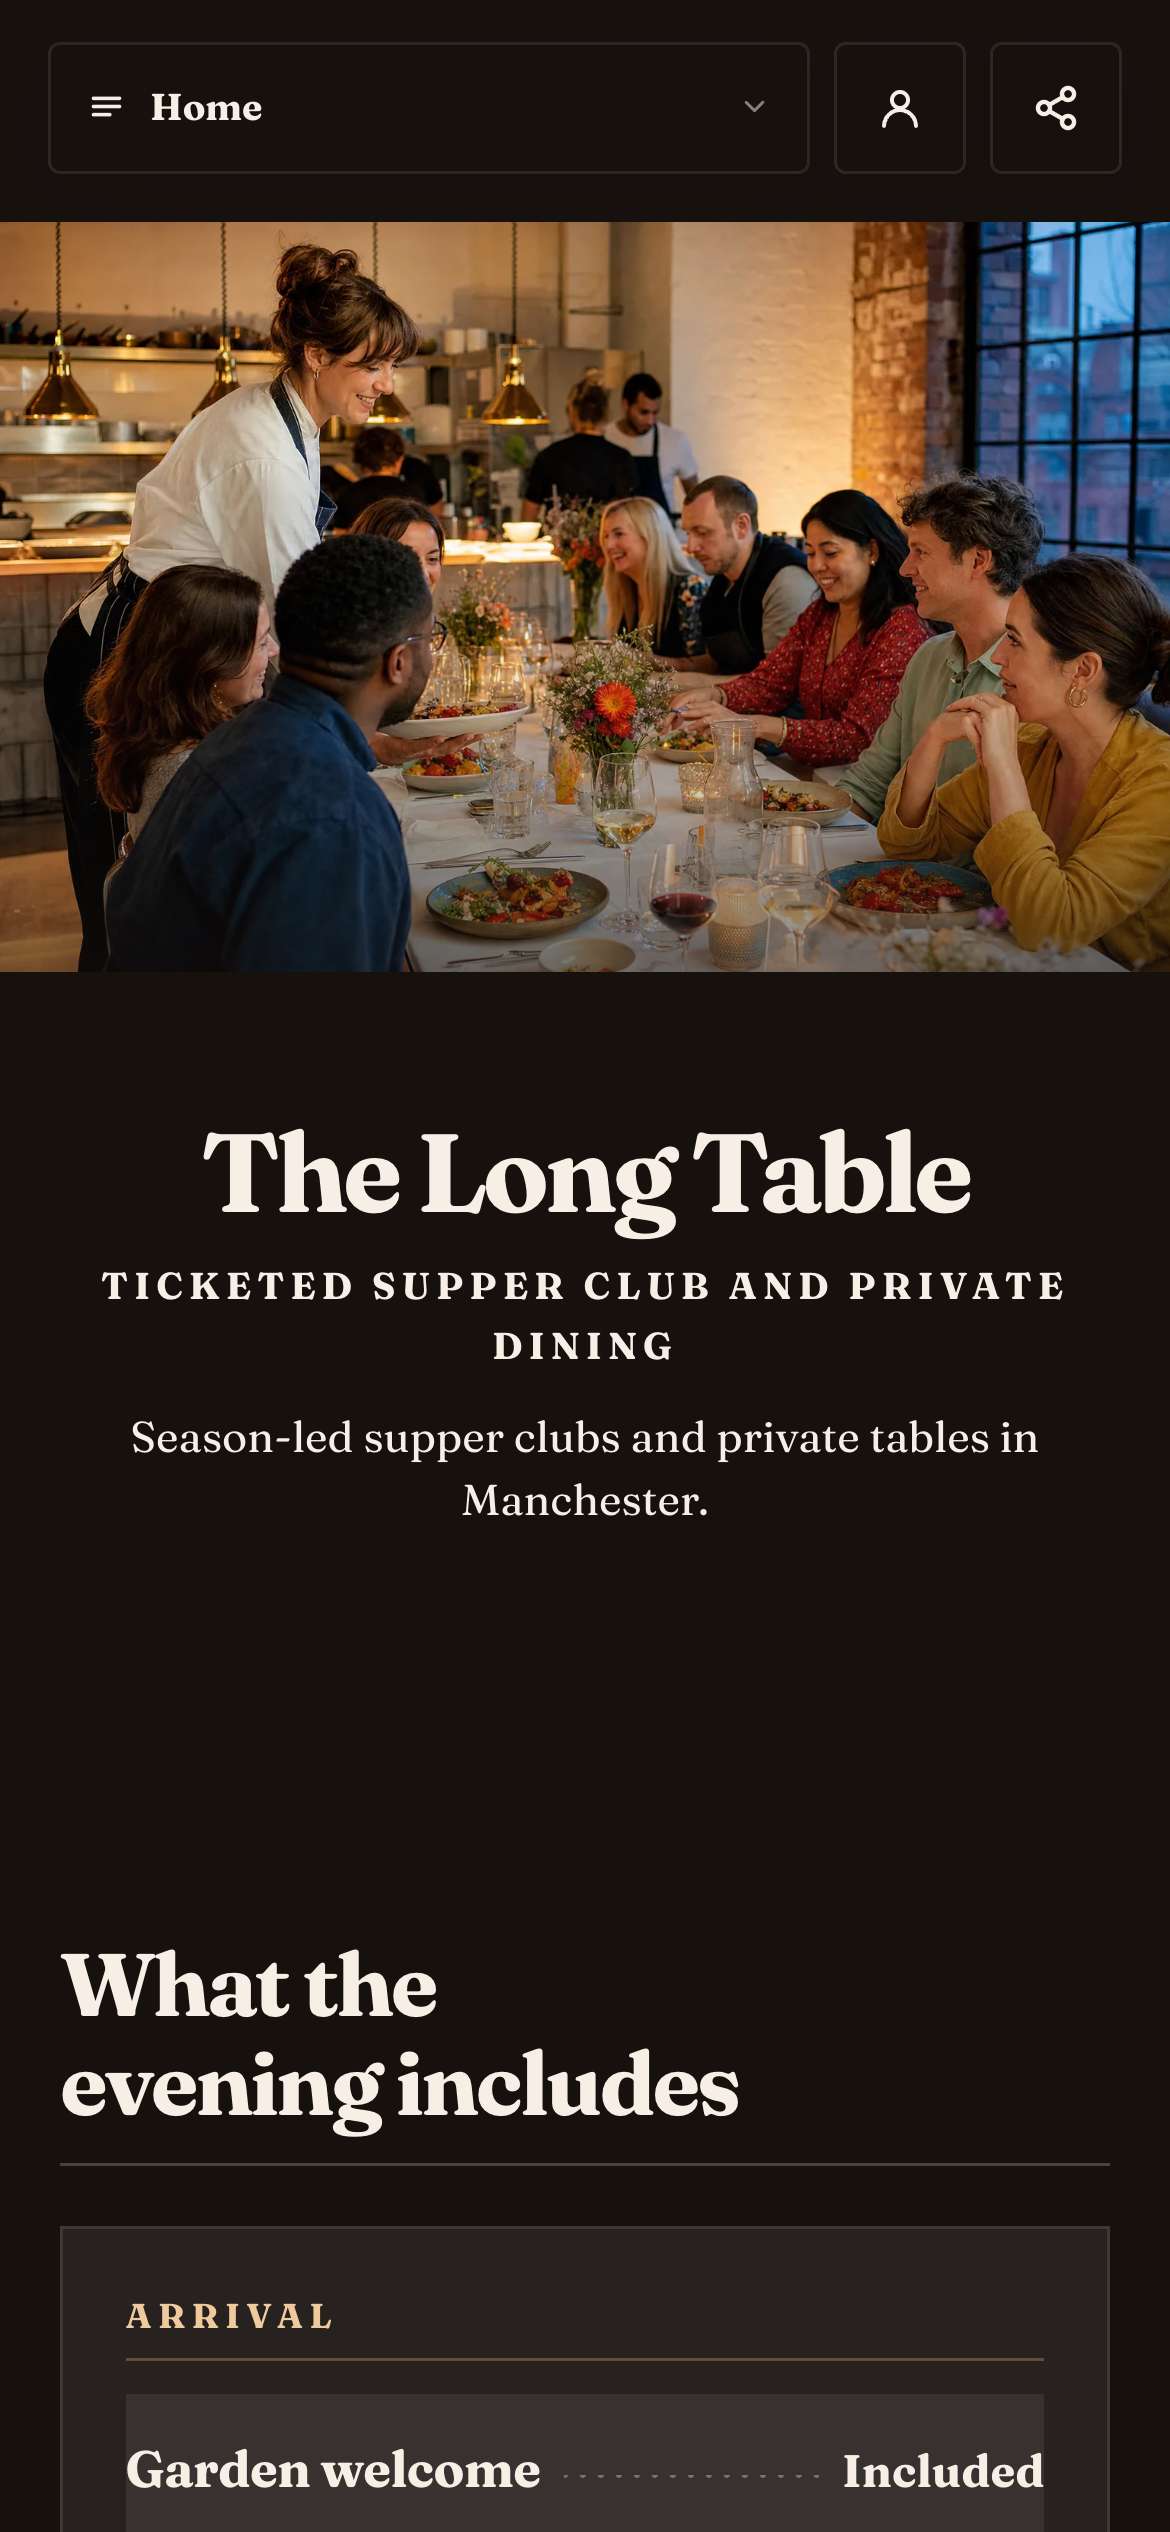
The Long Table example puts the setting and event offer together. Add your own date, venue, capacity and practical details so guests know what to expect.
Actual Shovva screen. Fictional example business.
Set up the ticket and check the customer journey
On Shovva, create the event offer with the correct date, price and capacity, then check the live customer view. Complete required payment setup before selling paid tickets. See event examples for how the offer fits into a wider business page.
Check that a ticket name makes sense without extra explanation. If there are different options, state the difference clearly and make sure each corresponds to something you can deliver.
Review confirmation and access details in the actual customer journey. Do not promise a particular reminder, transfer or refund process unless you have checked that it is available and set up for your event.
Plan the guest list and the day itself
Before the event, check the guest list and any outstanding questions. Decide who will welcome people, how attendance will be checked and what you will do if someone cannot find their booking.
Shovva includes event management and check-in tools in the dashboard. Familiarise yourself with the relevant event before guests arrive. Keep your team’s access appropriate and avoid sharing customer details more widely than necessary.
Afterwards, note what worked, actual costs and the questions guests asked. Ask for feedback and permission before using a quote or identifiable customer photo in future promotion.
Ready-to-share checklist: confirmed venue, deliverable experience, checked capacity, complete page, working ticket journey and a plan for welcoming guests.

Open the event’s guest list in your Shovva dashboard to see attendees and check-in controls. This example uses demonstration guest records.
Actual Shovva screen. Fictional example business.